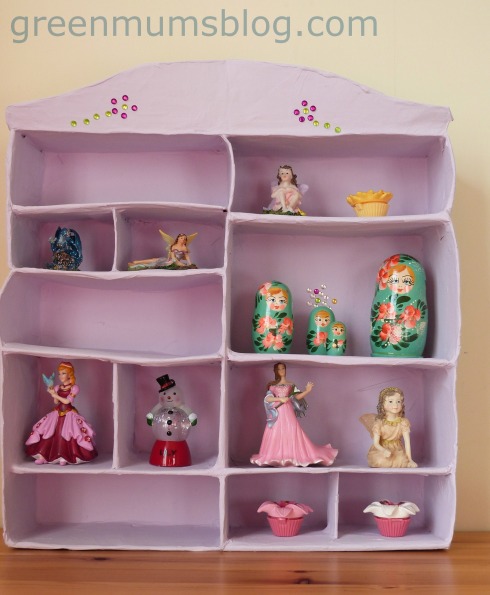
My daughter has a lovely collection of little fairies, trinkets and other ornaments that she has been given over the years. They take pride of place on her shelves, along with a vast selection of aged Enid Blyton books and dusty cuddly toys. This means the ornaments often get knocked off the shelves and also they are within easy reach of her younger brother’s sticky little fingers. I decided she could do with somewhere special to keep these ornaments, to free up space on the shelves and keep them safe. Being a thrifty mum, I didn’t want to spend much money on this and I turned to shoeboxes for a space-saving solution!
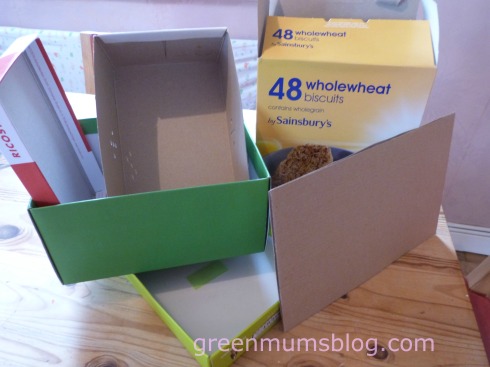
This is what I started with. Basically a collection of shoeboxes and cereal boxes.
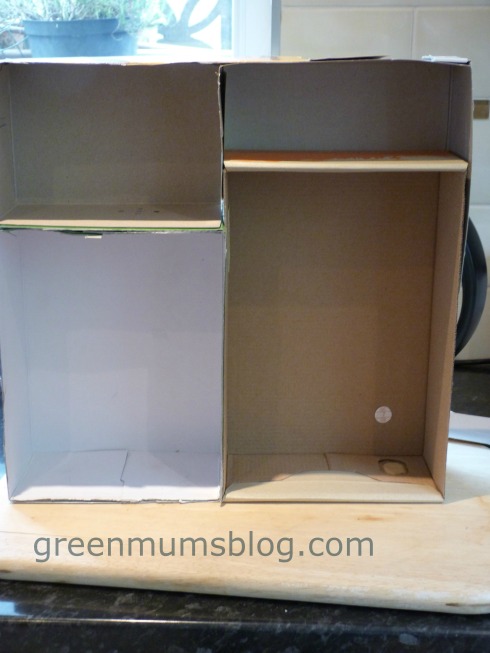
I glued some of the boxes together using a hot glue gun. I also used some white masking tape to add a little more stability. The next stage looked like this.
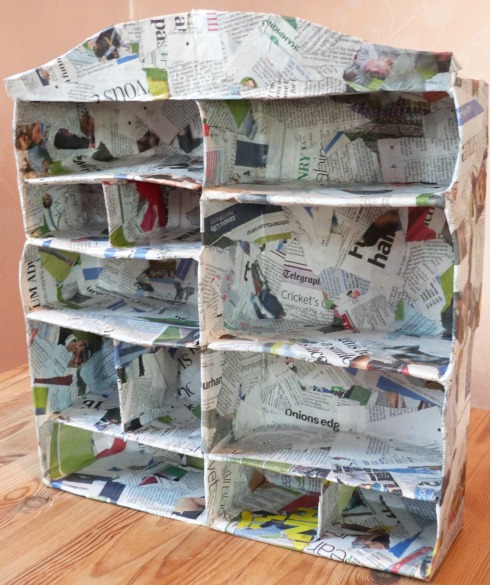
I then used pieces of quite thick cardboard to make some dividers for the shelving. Again, I secured these with white masking tape. I also used the masking tape to make sure that there were no gaps between the shelving. When the shelving and dividers were all in place I used papier mache to cover everything. I did about 3 coats of papier mache (the children enjoyed helping with this). I started off using a traditional papier mache paste. To do this mix one part of flour with one part of warm water. When it is smooth and you have got rid of any lumps you can pour it into another four parts water. Heat the mixture, stirring constantly until it boils and thickens. Leave it to cool before you use it. You can store this for a couple of days in an airtight container.
The children didn’t really like using the papier mache paste so I did the last two coats using a watered-down PVA mix. This was much less messy for the children and resulted in less complaints about having sticky, gooey fingers!
Finally, I applied three layers of paint. This was just a normal matt emulsion which came from our shed. The remains of some decorating project years ago. I left each coat to dry thoroughly before applying the next one. I’m quite happy with the finished result. It looks a bit wibbly wobbly, (due to the fact I didn’t have boxes of the same size) but I think this is part of it’s charm. This custom storage basically cost me nothing… result!
Do you have a favourite recycled craft you can share with us? We love to see what people have made and are always looking for new ideas!


